| : | 

      
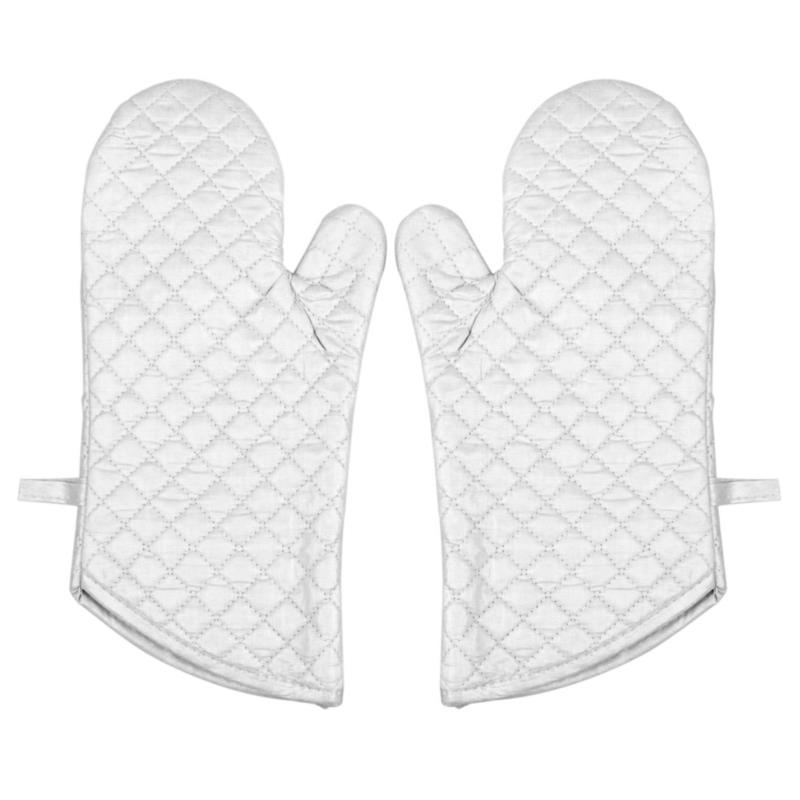
The oven glove ensures cookware stability in your hands Handmade quilting seam and applique on the surface adds beauty The perfect way to bring both style and utility to the kitchen Easy to clean with a damp cloth and machine washable Cooking glove is also a practical gift Length: 40cm/15.7in Color: Silver Gray Material: Cotton


Every home cook needs a well-stocked kitchen, complete with sets of sturdy,
well-made potholders and oven mitts. Creative oven mitts and potholders add
personality, color and interest to a kitchen's decor, especially in a rental
where the family is unable to paint or remodel. Sewing oven mitts and potholders
at home is a way to introduce children to using a sewing machine. Patchwork
designs allow crafters to use leftover bits of fabric to complete a practical
project
Oven Mitt Project Place a large sheet of paper on the table. Lay an oven mitt on top of the
paper and trace its shape to create a pattern. Add 1/2 inch to all the sides in
order to allow for sewing seams. Cut out the pattern Fold a piece of cotton batting in half. Pin the oven mitt pattern on top of
the cotton batting. Cut the oven mitt shape out from the cotton batting. If the
pieces are joined together by a fold, unfold the fabric and cut along the fold.
There should be two pieces of oven-mitt-shaped cotton batting. Repeat with the
fabric for the lining and the outside of the oven mitt Layer the pieces so the lining fabric is on top, the batting is in the
middle and the outer fabric is on the bottom. Pin the pieces together about 1/2
inch away from the edge. Use scissors to make a small snip between the thumb and
rest of the hand Set the sewing machine to perform a zigzag stitch. Stitch around the outside
edge of the project. Do not stitch around the bottom--leave it open Turn the oven mitt right side out. Cut a thin strip of fabric from the same
fabric used for the lining. Pin it around the bottom edge of the oven mitt,
leaving 1/4 inch hanging over the edge. Turn the bottom of the oven mitt inside
out, pull the fabric edge around to the inside and pin in place. Thread a needle
with coordinating thread and hand sew the edging in place, tucking in the raw
edge for a finished edge
Potholder Project Draw a 9-inch square on a piece of paper to create a pattern for a potholder
project. Cut out the pattern and pin it on to a piece of folded cotton batting.
Cut out the batting. Unfold the fabric and cut along the seam to create two
9-inch square pieces of batting Repeat Step 1 with two colors of fabric Layer the pieces together as so: two pieces of the first fabric, two pieces
of cotton batting, and two pieces of the second fabric. Pin all of the pieces
together Set the sewing machine to a standard, straight stitch pattern. Sew all
pieces of the potholder together using a 1/4-inch seam allowance Cut a thin strip of fabric and pin it along the edge of the square, leaving
¼ inch hanging off the edge. Flip the project over, fold the fabric strip around
the edge and pin it in place on the other side. Fold the edge under 1/4 inch and
pin. Thread a needle and hand sew the fabric strip in place to finish the edges
of the potholder
 
Baking products and burned food items can stain and stick to a conventional
oven mitt. Cleaning the oven mitt immediately after it gets dirty prevents
stains and food from staying on the mitt even after it is washed. However,
washing an oven mitt in a washing machine may not completely clean the mitt.
Soaking it in a cleaning solution removes stains and food from the mitt without
causing damage to it Fill a clean sink or bucket with 1 cup of non-bleach liquid laundry
detergent, 1 cup of white vinegar, and enough cool water to fully submerge the
oven mitt Submerge the oven mitt in the solution Soak the oven mitt for roughly 30 minutes, then turn the mitt inside out.
Soak it for 30 more minutes Remove the oven mitt from the solution. Scrub the mitt with a soft-bristled
brush, such as a toothbrush, to remove any food or other stains from the mitt.
Rinse the mitt in clean water Hang the mitt in a ventilated area or outdoors until it's completely dry

|
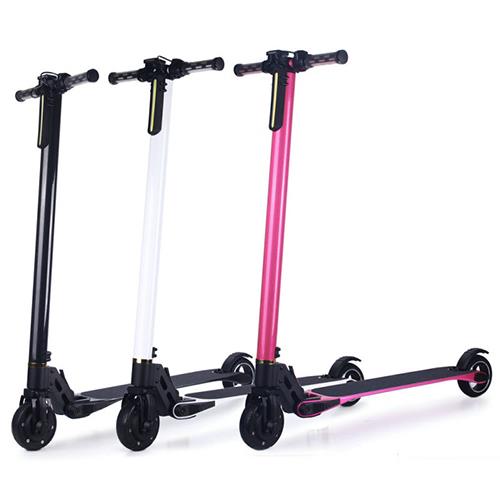 Carbon Fiber Folding Electric ScooterUSD 228.00- 260.00
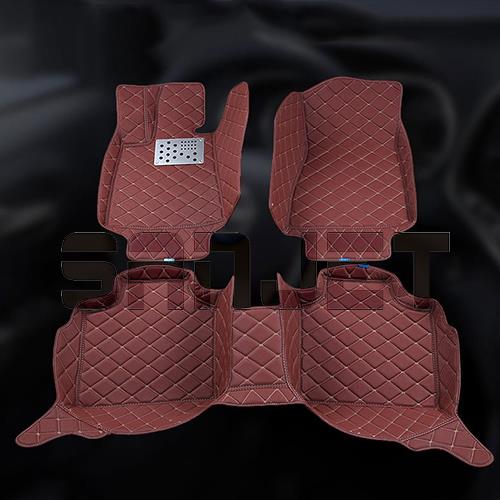 3PC Set All-weather Heavy Duty Custom-fit PVC Car Floor Mat variety of color optionsUSD 10.00- 19.00
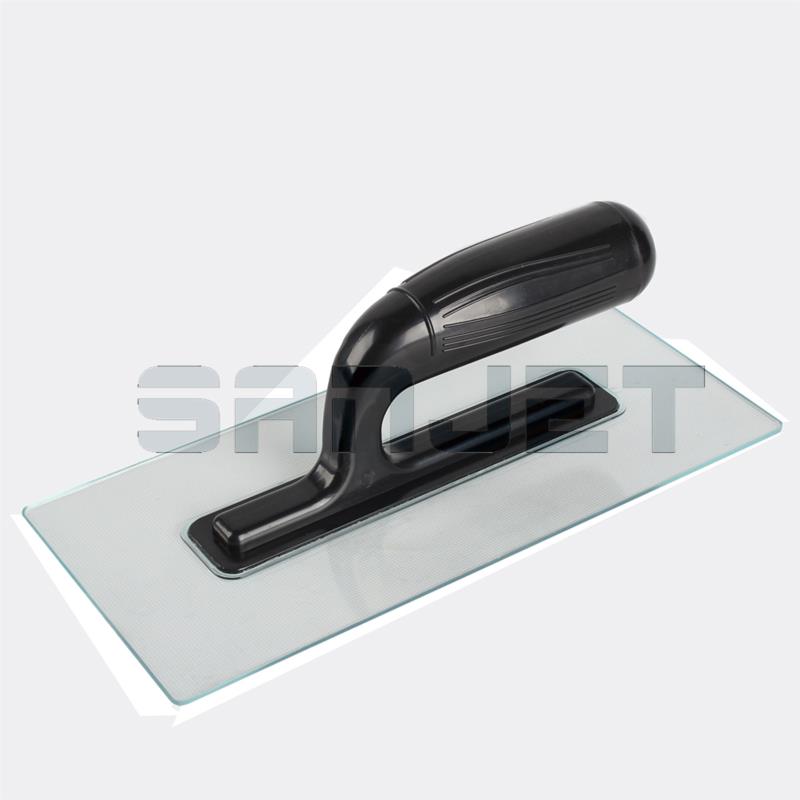 280mm Transparent Plastic Plastering Trowel with Black Plastic HandleUSD 0.79- 0.84
 FOOT Operated Air PUMP for Balls and Bicycle TiresUSD 2.72- 2.86
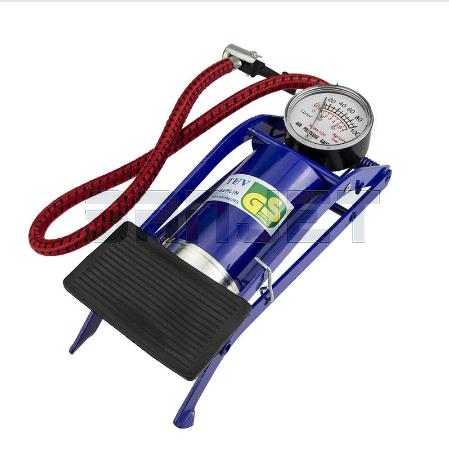 Foot Operated Air PumpUSD 2.72- 2.86